Homemade Yogurt - How to Make Your Own Yoghurt - Tips and Recipes
Making yogurt is not rocket science though homemade yogurt is 'out of this world' - juts how you like it. Just like wine and bread making making yogurt is a natural process involving micro-organisms that invade natural foods and start to break them down.
For wine and bread the organism is yeast and for yogurt its several species of bacteria. It is simply a matter of promoting the 'good guys' by adding desirable and beneficial cultures of these organisms and applying sterilising techniques to out-compete the 'bad guys'.
This article provides a simply guide to how to make wonderful yogurts at home using simple utensils equipment and recipes. There are many ways in which you can adapt these techniques to your own requirements.
Yogurt or yohurt has many health benefits. You can get all these benefits and control the undesirable ingredients added to commercial yogurts such as sugar, flavourings and fats. Yogurt comes from milk and so it provides all the benefits of milk enhanced by the bacteria in the yogurt culture.It is relatively rich in animal protein (about 9 grams per serve), plus other nutrients such as calcium, vitamin B-12, vitamin B-2, magnesium and potassium.
The processing of the milk usually by bacteria such as Lactobacillus acidophilus and Streptococcus thermophilis enhances the health benefits beyond those of raw milk and many yogurts contain "good bacteria" (probiotics) which support system the immune system and promote a healthy digestive tract. Bifidobacteria and Lactic acid bacteria are perhaps the most widely used probiotic microbes.
What is yogurt?
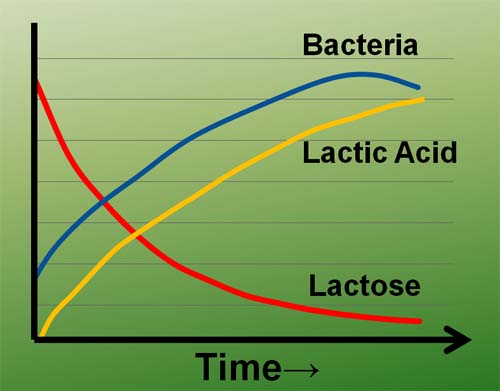
Yogurt is fundamentally fermented milk. But the fermentation is done with specific strain of bacteria (usually Streptococcus thermophilis or Lactobacillus acidophilus) and care is taken not to allow other micro-organisms to flourish and spoil the mix. The 'god guy' bacteria process the lactose ( milk sugar) into lactic acid and so turn the milk into yogurt with its characteristic acid taste. The process is extremely simple - warm the milk to promote the growth of the bacteria, then add the culture and keep it warm until the bacteria have done their stuff.
Basic Principles for Homemade Yogurt
All the various articles and advice you can read about making homemade yogurt from scratch basically focus on the following issues:
- What type of milk to use
- What type of cultures and how to find them
- Sterilisation and prevention of foreign organisms
- Heating the milk
- Keeping the yogurt warm while the fermentation is taking place
- Timing issues
Which starter to use - Basically choose a good quality commercial yogurt with live organisms at the start. Later you can take a few tablespoons of the yogurt you have made and add this to each new batch. It is fundamentally similar to soughdough starters, although many of these start by capturing wild yeasts. This is not recommended for yogurts as it is too hard to separate the good guts from the bad guys. Jalna Biodynamic and other high quality varieties are suitable. Generally a jar of starter (that you can store in the fridge) can be used to make about 10 batches of yogurt.
Which Milk to use - Fresh milk, powdered milk, low fat, skim milk -all types are suitable - its really up to you.
Cleaning and Sterilisation - Some recipes and methods call for complete sterilisation of all the equipment. You can do this but its probably unnecessary provided you wash everything thoroughly and practice basic hygiene. Both the milk and starter yogurt may have been pasteurised but they are hardly sterilised. Rinses the jugs and fermentation chambers with boiling water before you start as a precaution.
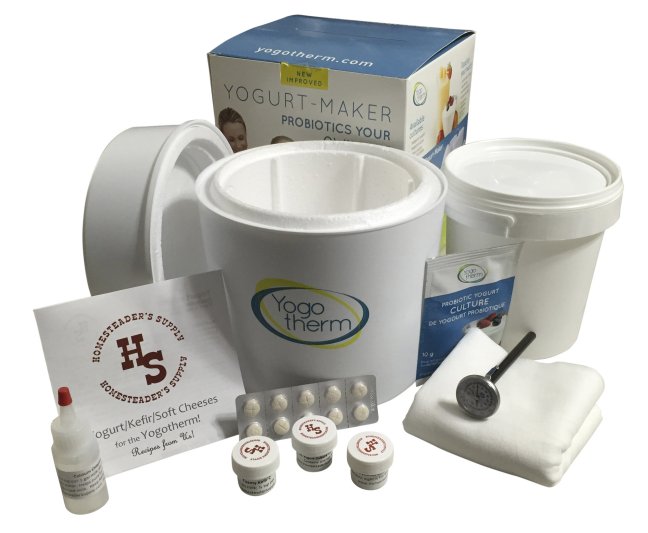
Fermentation Chamber - Basically all you need is some form of a container that can be kept warm for 6-12 hours to complete the process. The ideal temperature is around 41- 48 degrees C or 105 to 120 degrees Fahrenheit. This can be done by placing a covered glass, ceramic or plastic bowl in a partially filled sink of water, which an be warmed by adding hot water periodically. It can be done in a crock-pot or slow cooking type device (provided the temperatures can be kept low enough). Other people use towels and hot water bottles. The best option is a wide-neck vacuum flask (thermos). This retains the heat, especially if it is wrapped in towels and is glass lined and has a tight fitting lid. The wide-mouth is best as it is easier to add and remove the mixtures and to keep clean.
Contamination - If you are clean and maintain general hygiene then you should have no problems with foreign organisms spoiling your yogurt. If you reuse some of your yogurt as a starter tem the contamination may build up. The lactic acid produced by the fermentation helps to stop foreign organisms invading.
Basic Yogurt Recipe
Ingredients
- 5 tablespoons of powdered milk
- 1 litre (one quart) liquid of milk (fresh, re-constituted powdered milk - low fat or skim milk is best
- Boiling water
- 2 tablespoons of fresh yogurt starter (1/4 cup or so)
- Measuring jug (for pouring milk into the vacuum flask - thermos)
- Double boiler (or you can use a mixing bowl floating in a saucepan containing boiling water; this simply stops the milk from boiling when being heated)
- Towel (to wrap around the thermos or container)
- Thermos (preferably wide-mouthed)
Method
- Allow the frozen starter if using frozen starter.
- Fill the fermentation container and jug or thermos with boiling water to sterilise it and heat it.
- Use some boiling water to pour over the utensils and jug, and any other items you are using. Put them aside in a clean, dry spot.
- Mix the milk (various types dependent on preference) and powdered milk together. The powdered milk is optional but it makes a thicker yogurt that many people like and it boosts the amount of calcium. You can also use gelatine to thicken the yogurt.
- Put it into the container in the double boiler. It is easier to heat it directly this way and you don't have to worry about stirring it over and over again or worry about it burning at the base of the container. You just need to check it every now and again, while it is heating.
- Heat it up to near boiling if you can, but do not burn it.
- Take the double-boiler off the heat and transfer the inner container to the sink or other place to cool.
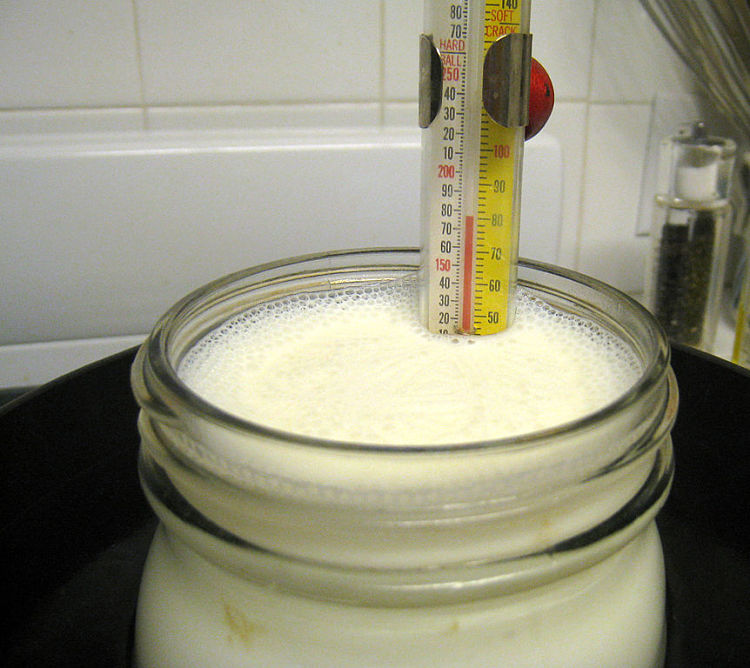
- Insert a thermometer and allow 20 minutes or so to cool down. The ideal temperature is around 41- 48 degrees C or 105 to 120 degrees Fahrenheit.
- If it cools down too much you can always heat it up a little.
- Transfer about a cup the warm milk into a small jug and add the starter. Mix the starter into the milk to disperse without frothing it up too much and continue mixing until all the lumps are gone and it is well mixed.
- If using frozen starter, it is a good idea to drain off the excess water before mix it in.
- Pour the starter-milk mixture from the jug into the rest of the milk. Mix well.
- Then pour the mixture the thermos or other container and close it the lid.
- Wrap the thermos or other container it in a towel and leave it undisturbed for about 6 - 12 hours. If you are immersing a container in water, then get the temperature right before adding the container, and you will need to add hot water periodically to keep it warm. Times vary somewhat, depending on the temperature you maintain - its not absolutely critical.
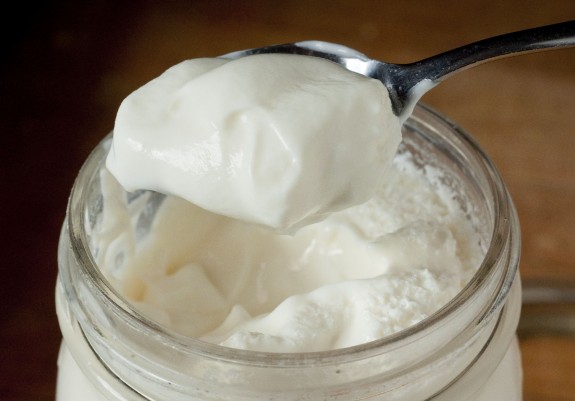
- You will see when the fermentation has been competed especially as it will be thicker and have a more solid feel in the thermos or container.
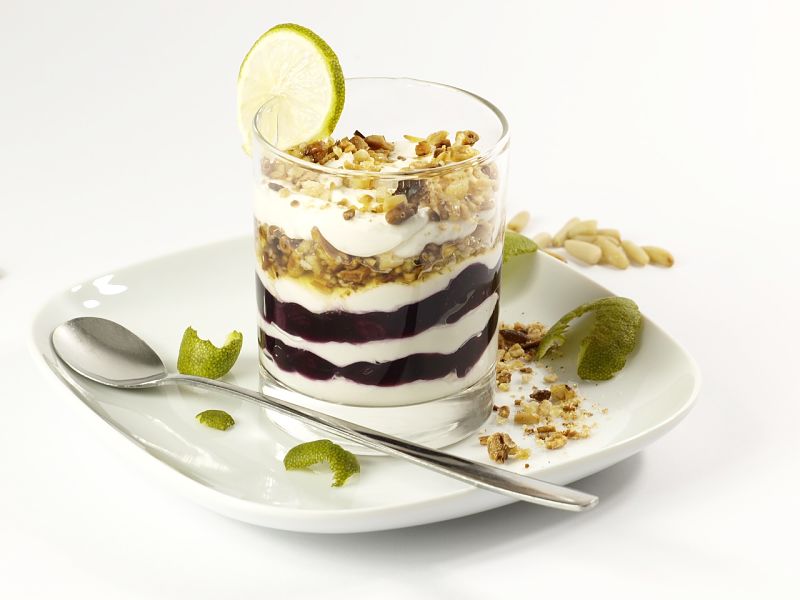
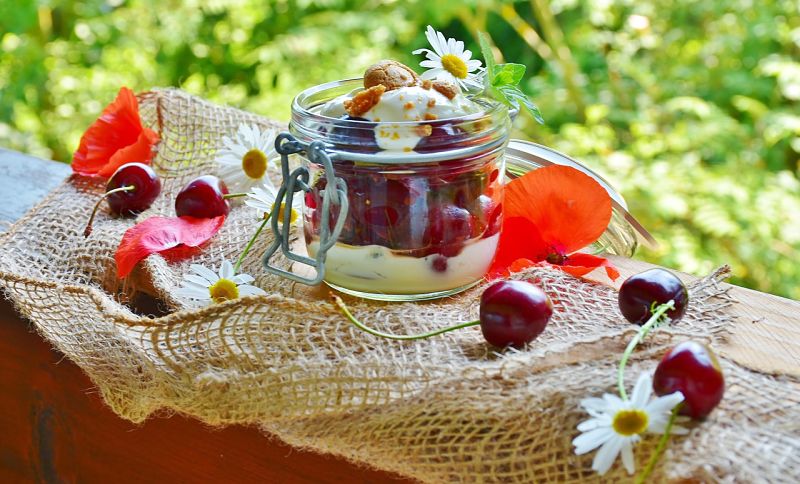
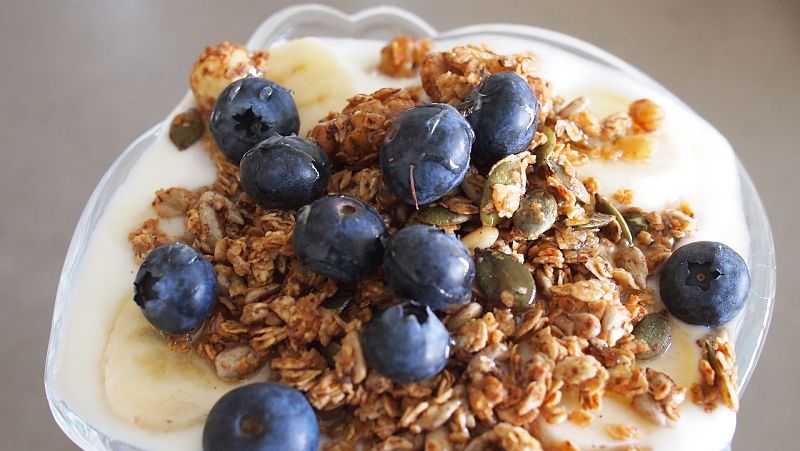
- When the yogurt is ready pour it out into your storage containers, which can be stored in the fridge. You can add fruit or various flavours are this stage.
Problems with Making Your Own Yogurt and How to Avoid Them
Failure to Set or Off-Taste - this is generally caused by lack of cleanliness or an old starter. Cleanliness is very, very important. Yogurt usually only survives for ten days or so, and if your starter batch is older than this the process may not work as you will not being adding enough live starter.
Over-doing the Fermentation - If you leave the fermentation continue too long the yogurt may get too tangy and the whey may start to separate and the yogurt may get lumpy.
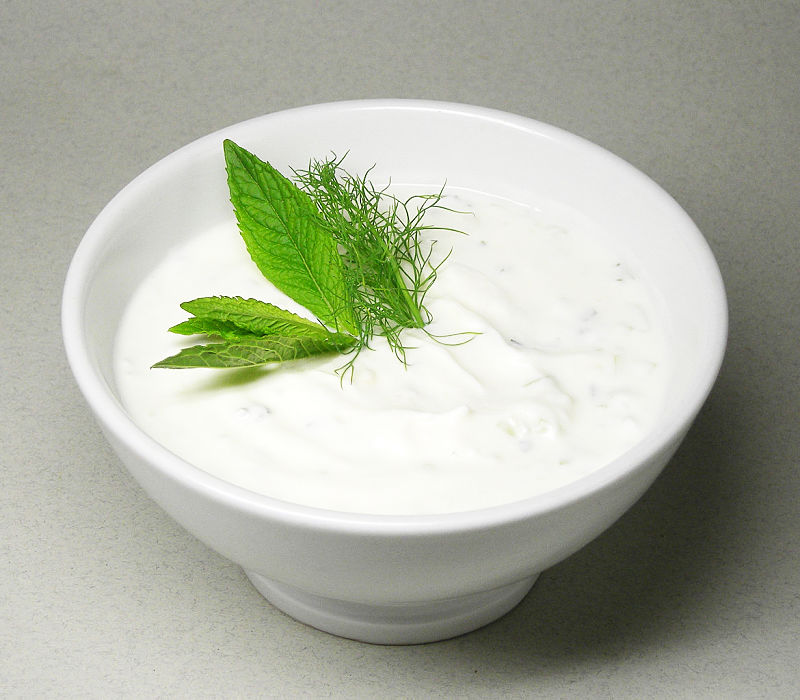
Making a Simple Yogurt Cheese - You can easily make Labneh, which is a yogurt ‘cheese’, used in many Middle Eastern dishes or as a dessert, dip replacement for cream. Make a fairly thick yogurt by adding extra quantities of powdered milk. Then simply draining it through cheesecloth stretched over a bowl, into which the whey will drain. This can be used to make a delicious desserts, cream substitute or base for a dip. There are many variations to the method that you can try.
More Images